Hey there, car enthusiasts! Are you ready to rev up your engine performance? We’ve got just the article for you. Get ready to dive into the exciting world of engine swaps with our step-by-step installation guide.
We’ll walk you through the process, providing clear and concise instructions, so you can confidently do an engine swap installation. Buckle up and get ready to unleash the full potential of your ride.
Let’s turn those wrenches and transform your car into a true powerhouse!
- Can I do an Engine Swap Installation Myself?
- How Hard is it to do an Engine Swap Yourself?
- Key Steps Involved in an Engine Swap Installation
- Importance of Proper Engine Swap Installation
- Preparing for the Engine Swap
- Engine Inspection and Preparation
- Transmission Compatibility
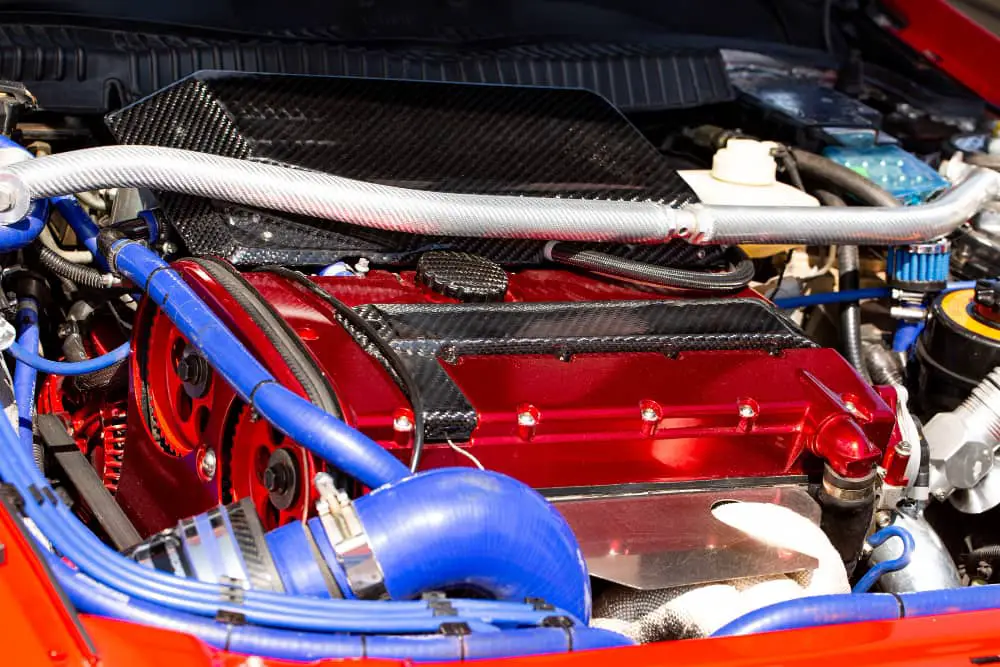
- Mounting the New Engine
- Wiring and Electrical Connections
- Fuel System Modifications
- Cooling System Modifications
- Exhaust System Modifications
- Final Checks and Testing
- Conclusion
Can I do an Engine Swap Installation Myself?
Oh, absolutely! You can do an engine swap installation yourself if you’ve got the right tools, knowledge, and experience. It’s incredible how many DIYers have successfully tackled engine swaps and saved a ton of money on engine swap costs.
However, the process can be quite complex and time-consuming. You really need to have a good understanding of the mechanics involved.
I remember when our friend Dave decided to replace the engine in his old Mustang. He’s a real car enthusiast and loves getting his hands dirty. With the help of some online tutorials and a trusty set of tools, he managed to pull off the whole engine swap in his garage.
How Hard is it to do an Engine Swap Yourself?
During the engine swap, he encountered a few unexpected challenges. There were moments when he had to consult with experienced mechanics and seek advice from forums to troubleshoot engine swap issues.
It just goes to show that even with the right tools and knowledge, surprises can still pop up. But with persistence and determination, Dave overcame those hurdles and got that new engine purring like a kitten.
So, if you’re considering taking on an engine swap yourself, ensure you’re well-prepared and ready to invest some serious time and effort. It’s definitely not a task for the faint of heart. But if you’re up for the challenge and have a passion for working on cars, it can be an incredibly rewarding experience.
Just remember to take it one step at a time, reach out for help when needed, and enjoy the process of bringing new life to your ride!
Key Steps Involved in an Engine Swap Installation
Here are some key steps typically involved in an engine swap:
- Research and planning: Start by thoroughly researching the engine swap process for your specific vehicle model. Understand the compatibility of engines, necessary modifications, and potential challenges.
- Gather tools and equipment: Ensure you have the required tools, including an engine hoist or cherry picker, torque wrench, socket set, and various other specialized tools for disconnecting and reconnecting components.
- Prepare the vehicle: Remove the hood and drain all fluids from the engine, including oil, coolant, and transmission fluid. Disconnect intake, exhaust, coolant lines, electrical connections, and engine accessories.
- Remove the old engine: Lift the old engine out of the vehicle using an engine hoist, being careful to disconnect any remaining connections or components. Take note of the proper sequence to avoid any damage.
- Install the new engine: Carefully lower the new engine into the vehicle, ensuring it aligns properly with the mounting points. Reconnect all the components, hoses, and electrical connections in the reverse order of removal.
Remember that each engine swap can present unique challenges, depending on the vehicle and the new engine being installed. It’s crucial to consult reliable sources, such as repair manuals or online forums, for detailed instructions specific to your vehicle.
Disclaimer:
Please note that this website’s engine swap installation guide is intended for advanced car owners with the necessary knowledge, skills, and experience in automotive mechanics. While we strive to offer accurate and helpful information, we cannot guarantee the suitability or safety of performing an engine swap based solely on our guide. Undertaking such a project involves inherent risks, including potential damage to your vehicle or personal injury.
We strongly recommend consulting a professional mechanic or automotive expert before proceeding with any engine swap. By using this guide, you acknowledge that the website and its contributors are not liable for any damage, losses, or injuries that may occur as a result of following the instructions provided. Your vehicle’s safety and proper functioning are of utmost importance, so please exercise caution and seek professional guidance when necessary.
Read more: Engine Swap vs Rebuild: Which Is Right for Your Car? Explained
Importance of Proper Engine Swap Installation
While an engine swap might seem like an easy way to upgrade your vehicle’s performance or power output, it is essential to understand that it is a complex process that requires careful planning and execution. Improper installation and illegal car modification can lead to serious safety issues, such as fires or accidents on the road.
Even if you are confident in your ability to handle this task yourself, it still needs critical thinking processes during each step so that mistakes don’t happen, which could be irreversible, costing thousands in repairs down the line if done incorrectly.
Preparing for the Engine Swap
1. Researching and selecting the appropriate engine for your vehicle
One of the most crucial steps in preparing for an engine swap is researching and selecting the appropriate engine for your vehicle. This process includes determining compatibility, power requirements, and budget. The first step is to research available engines that are compatible with your vehicle’s make and model.
This research should include engine specifications, power output, fuel economy, and overall reliability. Once you have narrowed down your choices, it’s essential to consider factors such as budget, ease of installation, and future maintenance costs.
| Car Model | Compatible Engine Swaps |
|---|---|
| Subaru BRZ/Toyota 86/Scion FR-S (2013-2023) | 2JZ-GTE engine from the Toyota Supra, LS V8 engine from General Motors |
| Honda S2000 (2000-2009) | LS V8 engine (requires LS1 V8 swap kit) |
| Mazda MX-5 Miata (1990-2023) | Ford 5.0L V8, GM LS V8, turbocharged Mazda 13B rotary engine |
| Porsche 944 (1982-1991) | Grand National engine, Nissan Silvia SR20DET turbo engine, Honda Prelude VTEC/Honda S2000 engine |
| Ford Ranger (1983-2012) | 4.0L SOHC V6 from Ford Explorer |
| Nissan 240SX (1989-1998) | Nissan Skyline RB25DET or RB26DETT engines |
| Jeep Wrangler (1986-2020) | GM LS V8, Hemi V8, diesel engines |
| Volvo 240 Wagon | GM LS V8, Ford 5.0L V8, turbocharged Volvo B230FT engine |
| Nissan Z | Nissan Skyline RB25DET or RB26DETT engines, GM LS V8 |
| BMW E30 3-Series | BMW S50/S52 inline-six from E36 M3, GM LS V8, Toyota 2JZ-GTE engine |
2. Gathering necessary tools and equipment
Before beginning any engine swap project, gathering all the necessary tools and equipment is essential. Having the right tools on hand can save you time and money in the long run by preventing mistakes or damaging parts during installation.
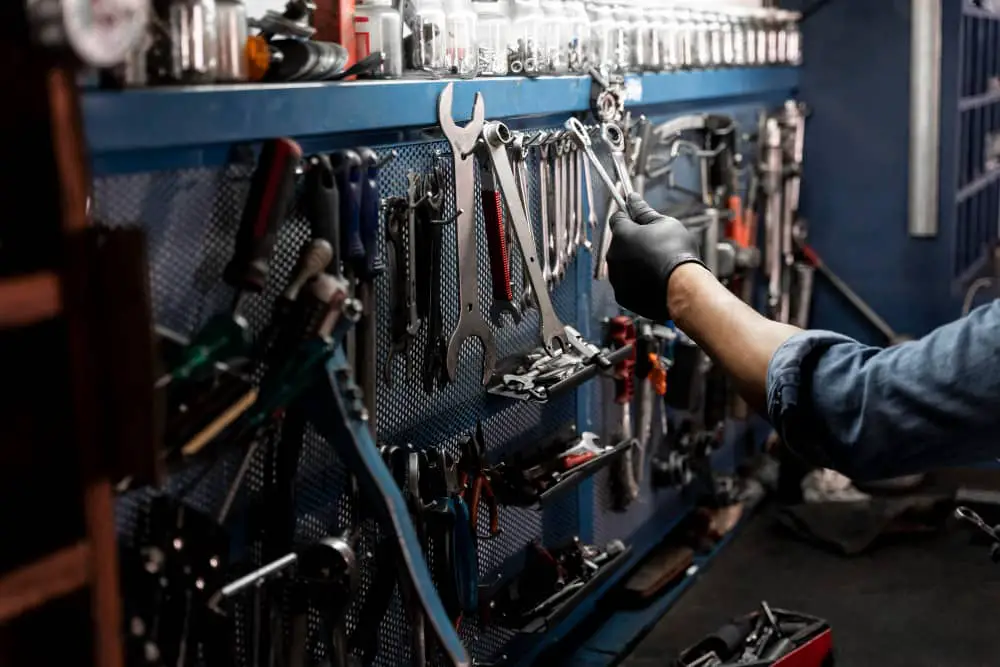
Some of the necessary tools you will need include:
- a torque wrench set,
- socket set with both metric and standard sizes,
- pliers or vise-grips,
- screwdrivers (both Phillips head & flathead),
- a jack stand set capable of supporting your vehicle weight safely off the ground (minimum 4 stands) -hydraulic jacks don’t count as these are too unstable,
- oil filter wrench (if applicable),
- pry bars or crowbars (for stubborn parts removal),
- penetrating lubricant spray like PB Blaster or WD-40.
3. Removing the old engine
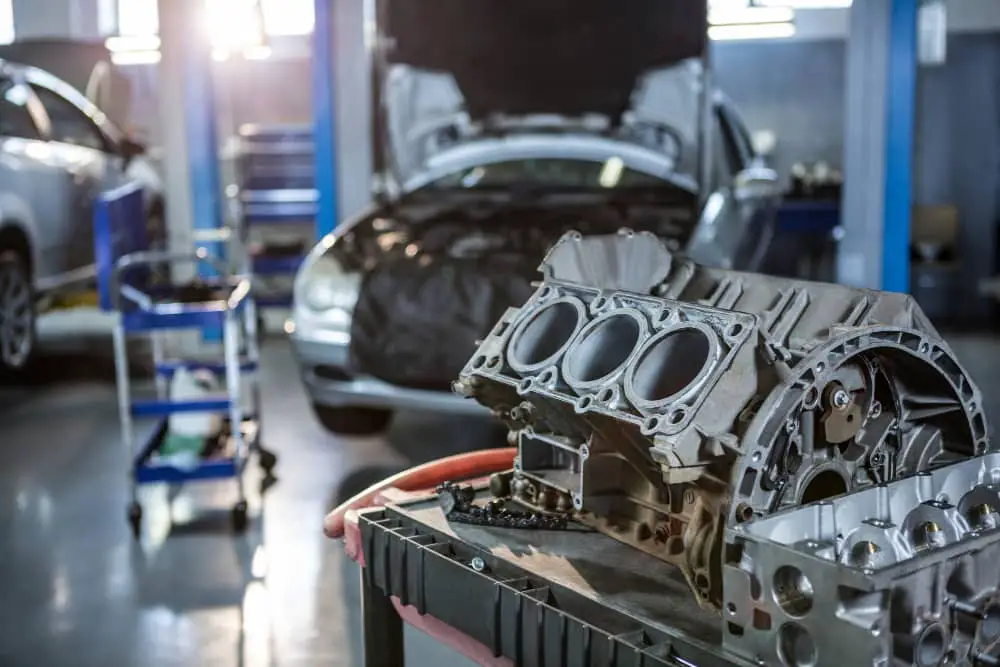
Once you have researched compatible engines and gathered all the necessary tools/equipment needed for installation day(s), it’s time to remove the old engine from your vehicle.
- First, remove everything around it that makes contact with it, like hoses connected to a coolant system or oil hoses, etc.,
- Then unbolt everything else holding it in place, including motor mounts (may require cutting through some bolts/nuts if they’re rusted or seized), transmission mount/bell housing bolts if applicable, and any other ancillary parts connected to the engine bay (like the radiator).
- Once everything is unbolted, you can begin hoisting the engine out of your vehicle by lifting it from above with a cherry picker or engine hoist.
- Be sure to position a stand or other support underneath where each mounting bolt was removed so that it won’t fall and damage anything below when you lift it out of place.
Engine Inspection and Preparation
1. Inspecting the new engine for any damage or defects
Before installing the new engine, inspecting it thoroughly for any damages or defects is vital.
- Start by checking if there are any cracks, leaks, or signs of wear on the block, head, cylinders, and other components. If you notice anything out of place, it’s best to consult with a professional mechanic for advice.
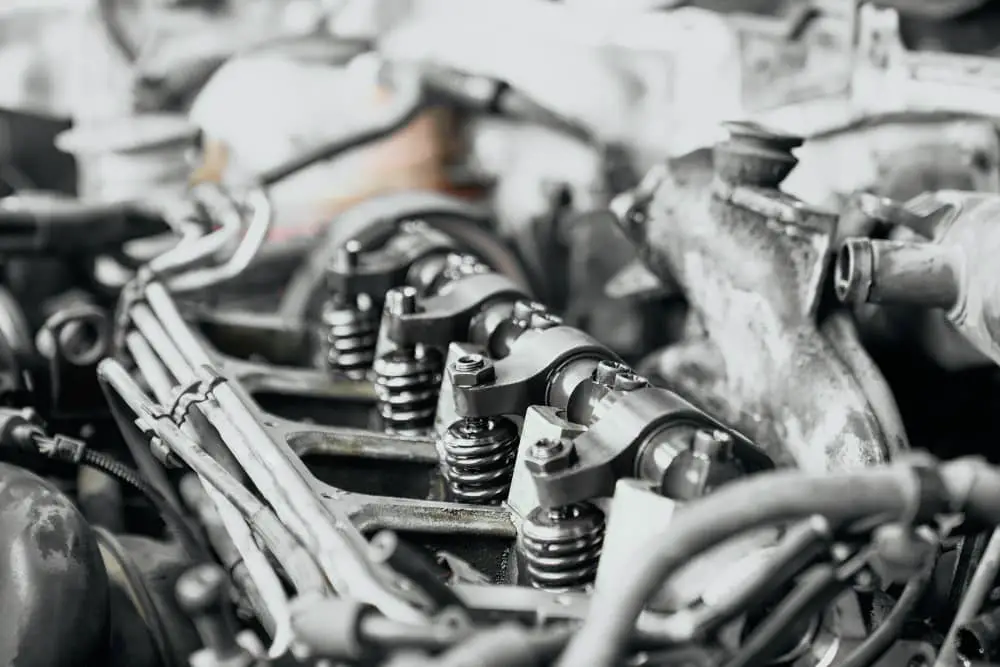
- Next, check the engine’s internal components, such as the pistons, rods, crankshaft, and camshaft. Ensure they are all in good condition and free from visual damage. Inspect each component thoroughly by rotating them to see if there are any bends or warps.
- Inspect all external components, including alternator brackets, pulleys, and belts, for cracks or misalignment that could hinder proper functioning.
Completing a thorough inspection before starting installation work can save valuable time in case repairs need to be made.
2. Cleaning and preparing the new engine for installation
Now that you’ve inspected your new engine and verified that it is in good condition without major defects or damage, you will want to clean up your engine before installation.
- Start by removing any debris from around the outside of your new motor using compressed air, then carefully clean out interior components using cleaning solutions specifically designed for engines, like degreaser soaps.
- Clean off surfaces on transmission bell housing as well as flywheel mating surfaces so they are free from debris which could affect proper alignment during installation.
3. Installing necessary components onto the new engine
Before putting your newly prepared motor into its final resting place under your hood, you must ensure all necessary parts have been installed properly. These may include such things as water pumps; oil pumps; timing belt/chain tensioners; exhaust manifolds, etcetera.
Make sure each component is securely fastened into place and tightly torqued down for maximum reliability.
Double-check everything to ensure that all components are properly seated or mounted, and that there are no loose parts or connections before proceeding to the next step.
Transmission Compatibility
One of the most important factors to consider when installing a new engine is whether or not it will be compatible with your existing transmission. There are several things to keep in mind when making this determination.
1. Checking Compatibility Between New Engine and Existing Transmission
The first step in determining compatibility is to research the specifications of your existing transmission and the new engine you plan to install.
Look for information on bolt patterns, input shafts, and gear ratios. Consider consulting with experts or forums dedicated to engine swaps for advice and guidance on which combinations work best.
2. Making Necessary Modifications or Upgrades
If your existing transmission is incompatible with the new engine, several modifications or upgrades may need to be made.
One option is swapping out the entire transmission for one that is compatible with your new engine.
Another option is replacing individual components, such as torque converters or flywheels, which can allow you to use your existing transmission with the new engine. If you decide to go this route, ensure any modifications or upgrades are done correctly by a professional mechanic with experience working on similar projects.
A poorly executed modification can lead to significant problems down the road. Taking time to check compatibility between new engines and transmissions and making necessary modifications will save time and money in future repairs.
Mounting the New Engine
1. Aligning the new engine with the transmission
Once you have prepared your new engine and removed the old one, it’s time to mount the new engine onto the transmission.
- The first step in this process is to align the engine and transmission. This can be done by raising or lowering either component until they meet at their mating surfaces.
- Once aligned, secure both components together using bolts.
2. Securing Mounts in Place
After aligning your new engine with the transmission, it’s time to secure it in place using mounts. Engine mounts are typically made of rubber or polyurethane and are designed to absorb vibration and movement from the engine while driving.
- Use manufacturer-specified mounts that match your vehicle’s make and model to ensure proper mounting.
- Secure these mounts tightly against the frame of your car to keep your new engine stable while driving.
- When mounting an engine, paying attention to clearance issues is important.
- Ensure that all components are properly aligned so that there is no interference between any parts once everything is assembled together.
The last thing you want is for something like a drive shaft or exhaust pipe to rub against something else when driving because this can lead to serious damage over time.
Overall, mounting a new engine onto a vehicle is not a simple task, but with careful preparation and attention to detail, it can be done successfully even by those without much experience under their belt!
Wiring and Electrical Connections

Connecting the wiring harnesses to the new engine is crucial in the engine swap installation process. The wiring harness connects all of the engine’s electrical components, allowing them to communicate with each other and the vehicle’s computer system.
Before connecting any wires, it’s important to ensure that all connections are clean, free of corrosion, and properly secured.
1. Updating Electrical Systems as Needed
In addition to connecting the wiring harness, it may be necessary to update or modify certain electrical systems in order for them to work properly with the new engine. This could include upgrading alternators, voltage regulators, or battery cables.
It’s also important to check that all sensors are compatible with the new engine and that they are installed correctly.
One common issue that arises during an engine swap is that the check engine light may come on due to differences in sensors or other electrical components between engines. In this case, it may be necessary to install an aftermarket tuning solution or have a professional tune your vehicle’s computer system in order for everything to work together seamlessly.
It’s important not to rush through any steps involving electrical connections or modifications, as mistakes can cause serious damage or even safety hazards down the road. Take your time and double-check everything before moving on.
Fuel System Modifications
1. The Importance of Upgrading the Fuel System
When swapping an engine, it is important to ensure that the new engine’s fuel requirements are met. This means upgrading the fuel system components to accommodate the new engine’s needs.
Inadequate fuel delivery can lead to a lean condition, which can cause serious damage to the engine. Upgrading the fuel system also ensures that there is enough fuel flow to meet higher horsepower demands.
2. Fuel Pump Upgrade
A high-performance fuel pump is one of the most important upgrades for a new engine. The factory fuel pump may not be able to deliver enough fuel for the increased horsepower demands of the new engine.
A performance fuel pump will provide increased fuel flow and pressure, ensuring that there is enough gasoline to meet these demands.
3. Fuel Injectors Upgrade
In addition to upgrading the fuel pump, larger fuel injectors may be required for increased horsepower applications. This is because larger injectors can deliver more gasoline when needed and keep up with increased airflow from upgraded intake and exhaust systems.
It’s important to ensure that any upgrades are matched appropriately with other modifications made during installation.
4. New Fuel Lines and Fittings
Upgrading your vehicle’s existing rubber or steel lines with stainless steel braided lines is a good idea when installing a new engine, especially if you are making significant power gains. Stainless steel braided lines offer better durability, flexibility, and resistance against heat than traditional rubber hoses or metal tubing.
5. Prevent Vapor Lock
Another factor in upgrading your car’s plumbing system is related directly to vapor lock situations you might have trouble with after switching engines on your vehicle. If your car has this issue, running at high temperatures won’t be good for you or your engine due to gas bubbles forming in your stream.
To prevent vapor lock, use a fuel-system heat shield and wrap the fuel lines in reflective tape. The heat shield will keep the fuel pump cooler and prevent vapor lock from occurring.
Cooling System Modifications
1. The Importance of Upgrading Your Cooling System
As you increase the power output of your engine, you also increase the amount of heat generated. This can cause your engine to overheat, which can lead to serious damage if not addressed promptly. Upgrading your cooling system is necessary to prevent overheating and ensure that your new engine runs smoothly.
2. Components That Need To Be Upgraded
The first component that needs to be upgraded is the radiator. A larger and more efficient radiator will be needed to handle the increased heat output from the new engine.
The next components are the water pump and thermostat. These must be replaced by high-performance parts that can handle higher flow rates and temperatures than their stock counterparts.
3. Coolant Selection
Choosing the right coolant is also crucial in maintaining proper temperature control for your new engine. You need a coolant with a higher boiling point than what is used with stock engines so that it won’t boil under high pressure or extreme temperatures.
4. Add-On Components
You may need to add an auxiliary fan or an oil cooler to enhance cooling performance further. An auxiliary fan helps to increase airflow through the radiator when needed, while an oil cooler helps maintain proper oil temperature by dissipating excess heat.
Exhaust System Modifications
When installing a new engine, it is essential to modify or replace the exhaust system to match the specifications of your new engine. The exhaust system plays a critical role in your vehicle’s performance, and without proper modifications, you may not be able to achieve optimal performance.
1. Modifying Your Existing Exhaust System
One option for modifying your existing exhaust system is by using an aftermarket exhaust kit. These kits are designed specifically for engine swaps and often come with all the necessary components and instructions for installation. Another option is customizing your existing exhaust system by adding or modifying sections as needed.
Regardless of which option you choose, ensuring that the exhaust diameter and flow rate match those of your new engine is important. A mismatch can lead to decreased power output, overheating issues, and even engine damage.
2. Replacing Your Exhaust System
Another option when modifying your exhaust system is to replace it entirely with an aftermarket or custom-built solution. This approach offers greater flexibility in terms of design and materials used but can also be more costly than modifying an existing system. When selecting a replacement exhaust system, ensure that it meets the specifications required by your new engine.
This includes matching the number of cylinders on the old versus new engines as well as any other unique requirements specific to your swap. Whether you choose to modify or replace your existing exhaust system when performing an engine swap, ensuring that it meets the specifications required by your new engine is crucial for achieving optimal vehicle performance and longevity.
Final Checks and Testing
1. Double-checking all connections, fluids, and systems before starting the vehicle
After the engine swap is complete, it is crucial to double-check all of the connections, fluids, and systems before starting your vehicle. This step ensures that everything has been done correctly and that there are no issues that could cause harm to you or your vehicle.
Check all of the fluid levels in your car to ensure they are at their proper levels. Moreover, it is important to make sure all electrical connections have been properly plugged in and secured.
Make sure no wires are cut or exposed in any way. Check for fuel leaks or any other signs of wear on pipes or hoses.
2. Testing vehicle performance after installation
Once everything has been checked under the hood, it’s time for a test drive! Start up the car and let it idle for a few minutes while monitoring its temperature gauge and oil pressure gauge.
If everything looks good so far, take the car on a test drive around some local roads before hitting the highway. Pay attention to any unusual smells or sounds coming from your engine compartment during this time.
During your test drive, take note of how smoothly your new engine runs compared to your old one. Also, look out for discrepancies between how much power you expected from this new engine and what you actually feel when driving around town or on highways.
If there are no issues at this point, then congratulations! You have successfully completed an engine swap installation step by step!
Conclusion
Overall, engine swapping can be an excellent way to improve vehicle performance and efficiency. While it may seem like a daunting task at first, with proper research and preparation, anyone can complete an engine swap successfully.
Remember always to prioritize safety and seek professional assistance if necessary. With dedication and attention to detail, you can turn your vehicle into a high-performance machine that you’ll enjoy driving for years to come!
