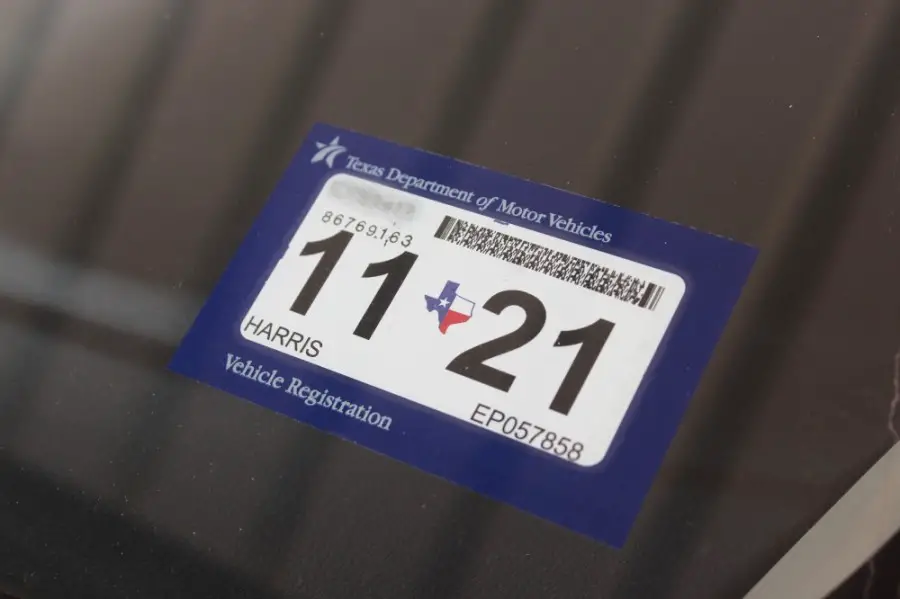
In today’s article, we’ll be looking at how to remove inspection sticker from windshield to reuse them. Improperly applied inspection stickers are frustrating and difficult to remove.

Some possible scenarios include installing the wrong sticker for your wife’s car or installing it in the wrong location.
How to Remove Inspection Sticker From Windshield to Reuse
You can remove an inspection sticker from your windshield intact so you can reuse it. The good news is you can use do-it-yourself with a hot air-dryer and a razor blade. Then clean any sticky residue with alcohol, acetone, or a window cleaner.
What you will need:
- Hot air dryer
- Razorblade
- Goo Off or acetone
- Contact adhesive
Step 1. Heat the sticker with a hot air dryer to loosen the adhesive
First, you need to heat the sticker to release the adhesive.
This is a critical step, so don’t skip it! Use a hot air dryer on the sticker. Move the dryer frequently around the area to heat it evenly.
Step 2. Insert the tip of a razor blade under one corner of the sticker
When you have heated all parts of the sticker, insert the tip of a razor blade under one corner.
Make sure to use a very sharp blade so you can cut only the sticker. The duller the blade, the more likely it is to scratch your windshield.
Step 3. Work the blade behind the sticker about 1/4 inch
Start with the corner of the sticker and work it behind about 1/4 inch.
It’s easier to release the adhesive from a spot in the middle of one edge rather than from a corner, so don’t remove any part yet.
Step 4. Press the loosened portion of the sticker against the flat side of the blade
Then lift the blade and sticker together (slowly). Next, press the loosened portion of the sticker against the flat side of the blade. Be careful not to touch your windshield until you’ve removed all adhesive.
Step 5. Cut additional corners along the edges, then peel off the entire sticker with a razor blade
When you have cut all four corners, slowly remove them from the windshield with the blade.
Just make sure you don’t cut into your glass!
Step 6. If the sticker starts to tear, reheat and start another corner.
You can start another corner and continue removing the sticker until all adhesive is gone.
However, you can also start at any edge and work your way around the windshield applying heat to each spot as you go. Either way should work just fine.
Step 7. Use Goof Off, acetone, or another solvent to remove residue from glass
Clean the old glue off with Goo Off or acetone.
This can be found at any hardware store. If your window is tinted, try to avoid getting the solution on the film: You might have to replace it if you do.
Rinse with water so there’s no residue left behind before using an adhesive spray to put a new sticker in place.
Related: How Long Can You Drive With a Cracked Windshield? Top 4 Risks
How to Remove Any Stickers From Windshield and Windows
The method above illustrates how to remove the inspection sticker from windshield to reuse. Alternatively, you can try the following methods if you don’t need the old sticker intact.
What you will need:
- Glass cleaner
- Goo-gone or any contact adhesive remover
- Clean cloth or paper towels
Steps 1. Clean the windshield
Clean the windshield with glass cleaner to remove any residue and let dry completely.
Use a commercial glass cleaner like RainX to clean your windshield of any residue and let it dry completely.
Step 2. Use a contact adhesive remover
Spray contact adhesive remover onto the sticker and allow to sit for a few minutes.
Spray an adhesive remover like Goo Gone or one of those green cleaners sold in big bottles onto the sticker and wait a few minutes for it to work on the glue underneath.
Step 3. Scrape off remaining stickers
Using your fingernail or any sharp object carefully scrape off any remaining adhesive from around the edges of the inspection sticker (Don’t touch your windshield with dirty hands!)
Step 4. Remove any residue
Remove any residue left from scrapping by spraying more adhesive remover directly onto the glass surface and wiping it off with a paper towel.
Step 5. Repeat if necessary
Repeat this process until all traces of old sticker are gone or as many times as necessary to remove old sticker residue
Spray adhesive remover onto a paper towel and rub the residue off the windshield with this soft, lint-free cloth
Step 7. Clean the windshield
Rinse with water to remove any remaining adhesive remover residue/water spots
Clean the windshield until it’s streak-free and let it dry.
Conclusion
Knowing how to remove the inspection sticker from the windshield to reuse might come in handy one day, so it’s a good thing to keep in your memory banks!
Do you know of any other methods for removing inspection stickers? If so, please feel free to comment below with your tips!
Disclaimer: The above steps are for informational purposes only. We do not condone illegal behavior. Feel free to share this article, but please link back to us when you do and do not remove the article tags (this notice).
